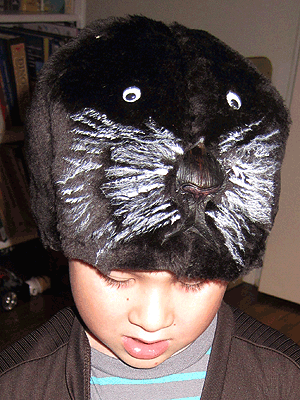
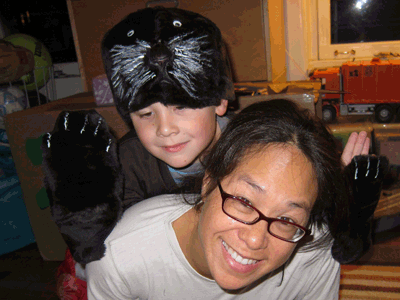
Love the way the head/face turned out! (Even though my search for brown googly eyes and to customise googly eyes into brown ones was unsuccessful.)
My sea otter research turned up some findings:
- Yes, they are indeed among the most ridiculously cute animals ever, especially when the babies snooze on their floating mother’s bellies;
- Of course we had to read (the abridged version of) Gavin Maxwell’s, Ring of Bright Water. (And if you missed this one in your childhood, then I highly recommend it. Along with a box of tissues.)
- Otter costumes are not made commercially for anyone over the age of 2, for good reason. They present all kinds of practical costuming challenges, from variegated fur, retractable front claws in their webbed paws, and the challenge of getting their faces right.
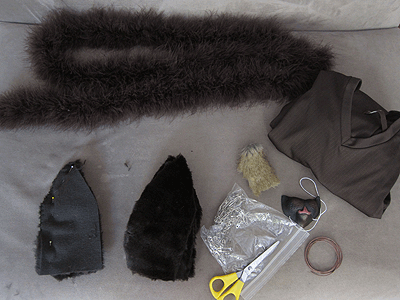
Buoyed on by the virtual inspiration board of cute sea otters, I plundered the Fashion District for materials, including fake fur, a tail, whiskers, and something to create the body. In the end I bought an XXXL men’s shirt for the body, feather boa for the tail, fur strips for the head and paws, and made use of existing set of googly eyes, embroidery cotton and… a secret and unexpected ingredient to create the whiskers and fur variation.
Basic steps:
- Cut the bottom of the shirt and re-sewed to create legs. Cut an opening in the back of the neck to allow Calvin to get it on.
- Tied the feather boa into thirds to get the right tail thickness and attached it.
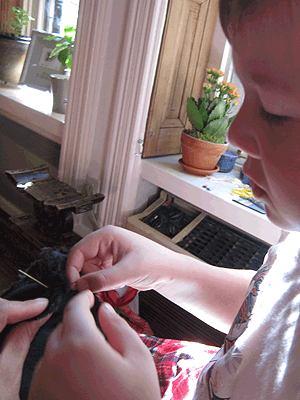
- Cut the fur into petal-shaped pieces and sewed these together as the head. Calvin was very helpful in sewing some of these together and I was amazed the sewing session ended with no injury to either of us.
- I glue gunned more fur to the face area to make up the topography of the snout. Then I painted and cut up a plastic cat mouth to form the shape of the otter mouth.
- After experimenting with thin leather strips, fishing gut and pieces from our paint brush (it will never be the same again), I tried painting on the fur with Tippex (a.k.a. Liquid Paper or White out) and realized it satisfied both the suggestion of whiskers plus the sea otter’s natural fur colour variation. Ta dah!
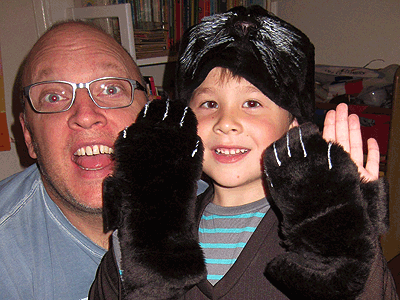
- Finally sewed on paw-shaped fur pieces and used the same Tippex trick to create the claws.
I put the final pieces together last night, a soothing suggestion of normality while we watched the coverage of Hurricane Sandy on the television and watched it beat up our backyard birch tree through the window. Tonight, we tried it all on and it looks a lot better than the disappointing mess I was sure would be the result. It has so far withstood a half-hour’s imaginary otter role playing which, if you know anything about the mischievousness and energy of otters at play (both real and imagined), is saying a lot! We hope to put it on parade at our local street parade tomorrow, if that still takes place.
No responses yet